UNMANNED TECH
  • Home
  • Shop
  • Students/Researchers
  • About
  • Contact
  • Manuals
  • Regulations
  • Multicopter Safety Notes
  • Blog

goPhantom 2 axis GoPro Gimbal Assembly

4/5/2013

Comments

 
Picture
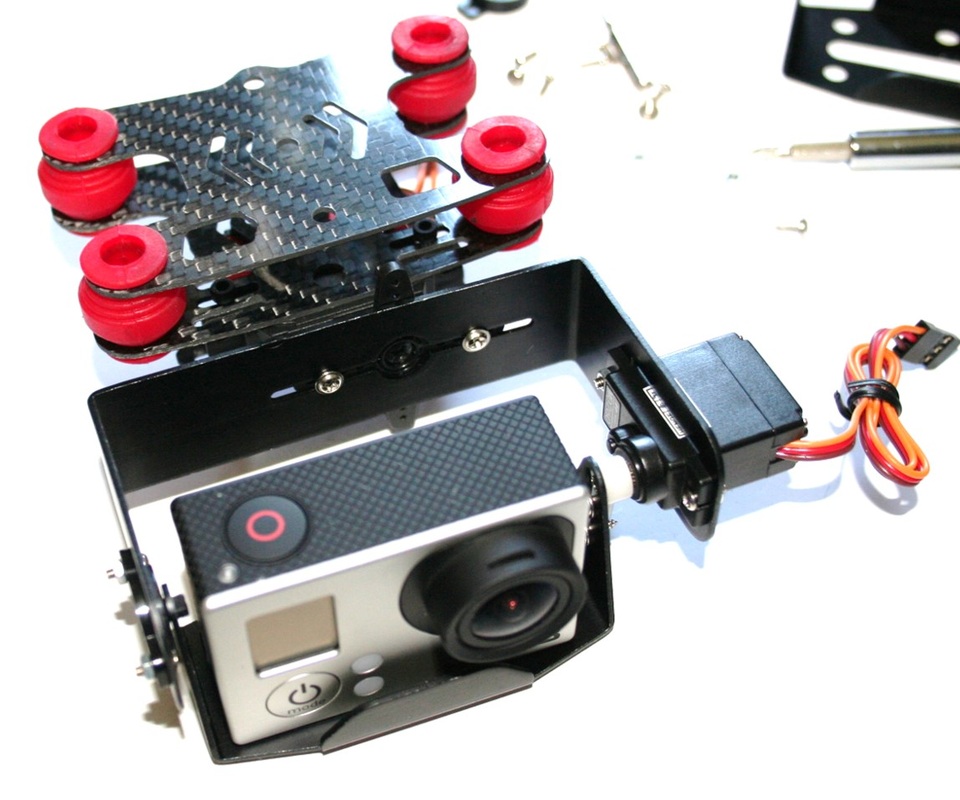
This is a simple 2 axis gimbal that fits onto the DJI Phantom quadcopter.  It is designed for gopro size cameras and also features some vibration damping balls to remove any jello effects from your video.
Buy Phantom Gimbal
Phantom Gimbal Pitch Axis
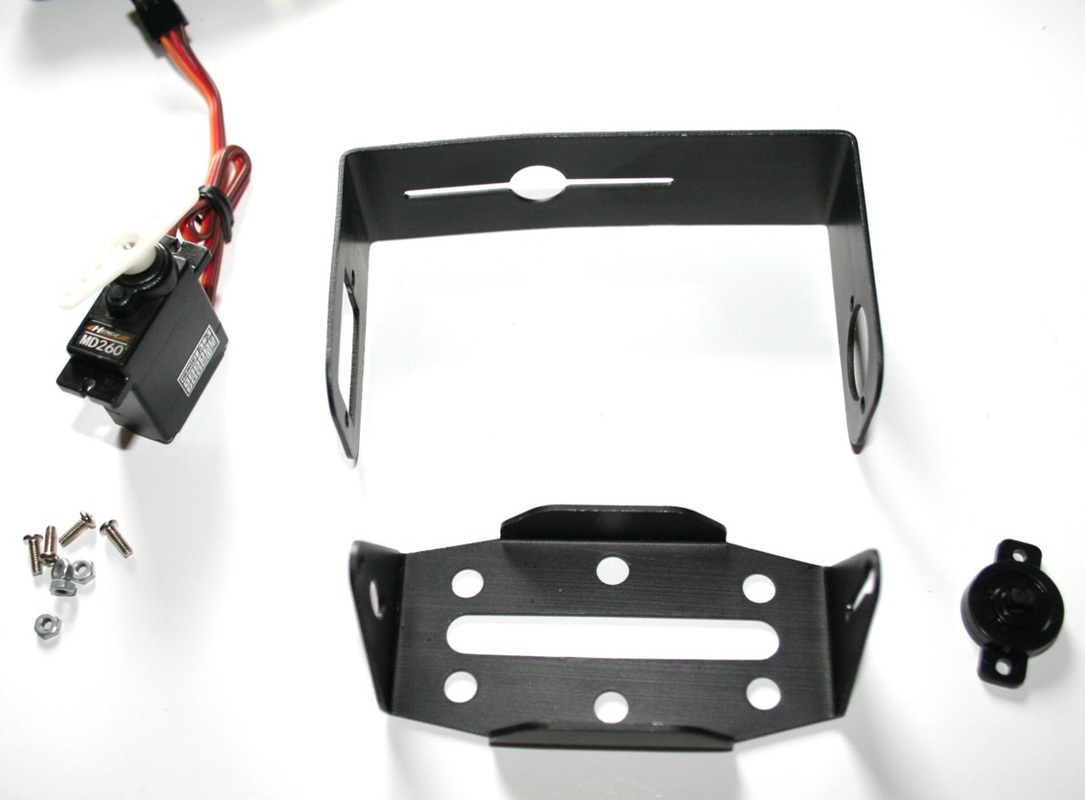
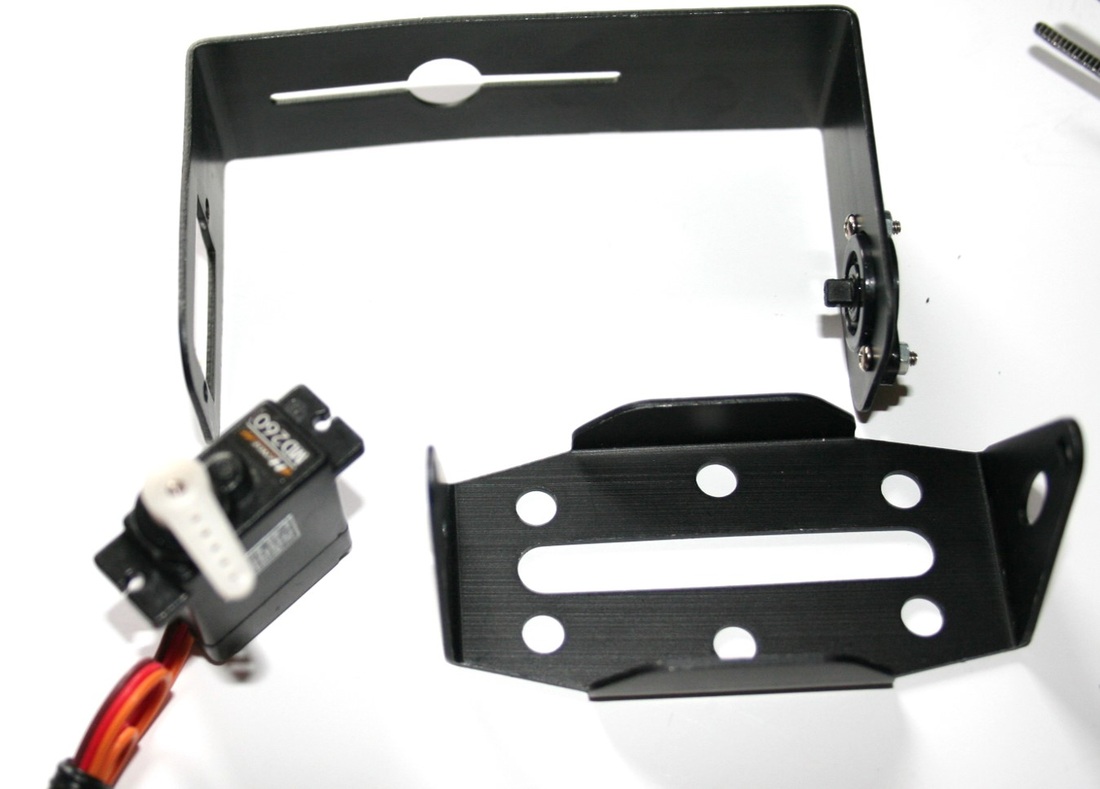
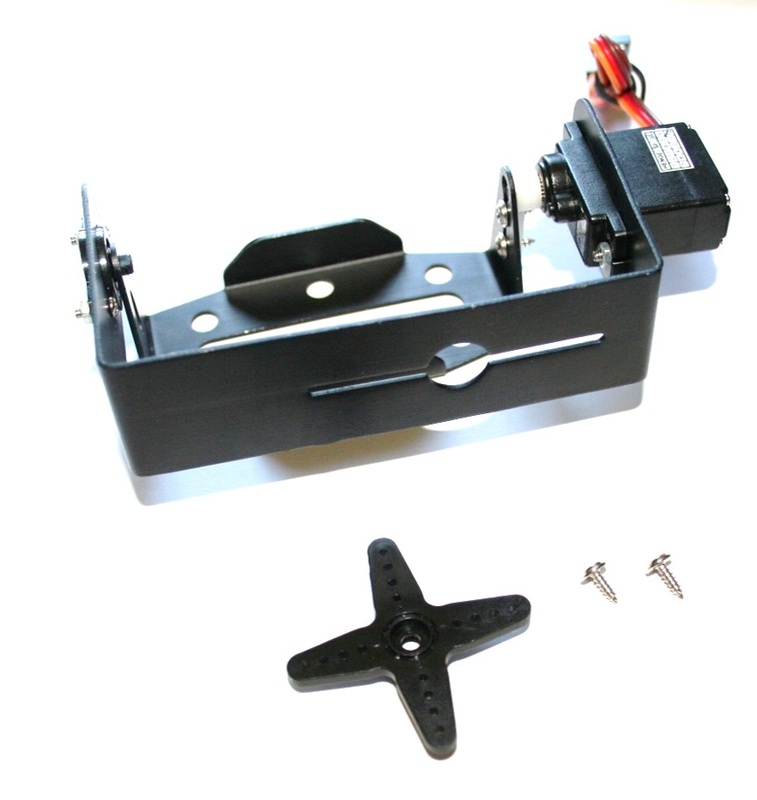
  • The first step to to build the roll and Pan axis assembly.
  • The parts required (mainly the two aluminum parts) are shown in this image.
Picture
Picture
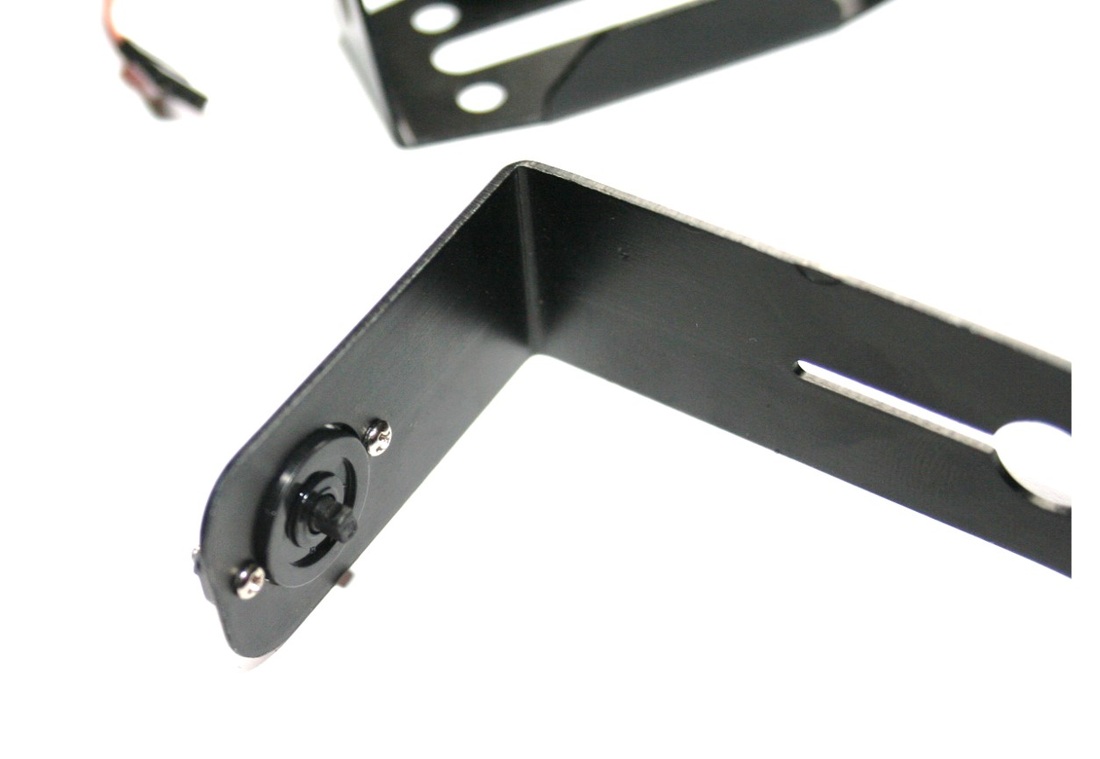
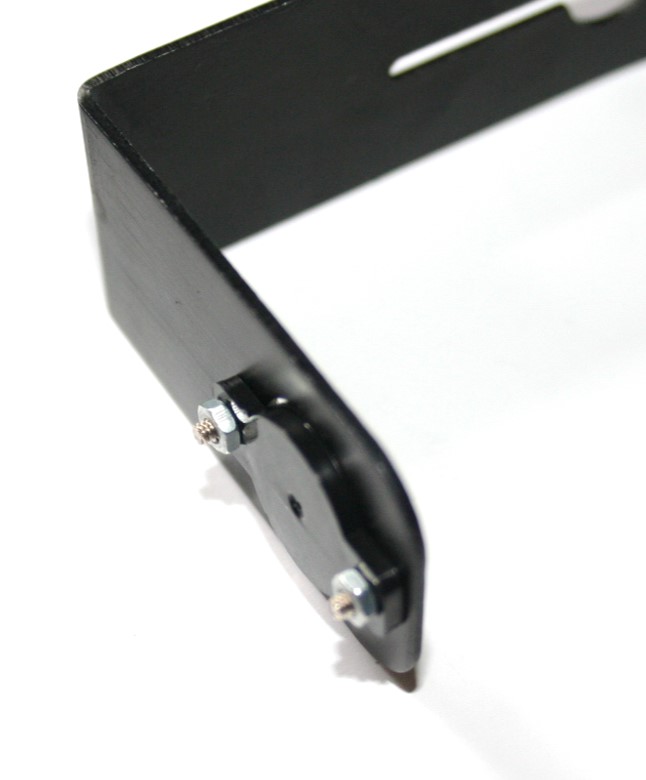
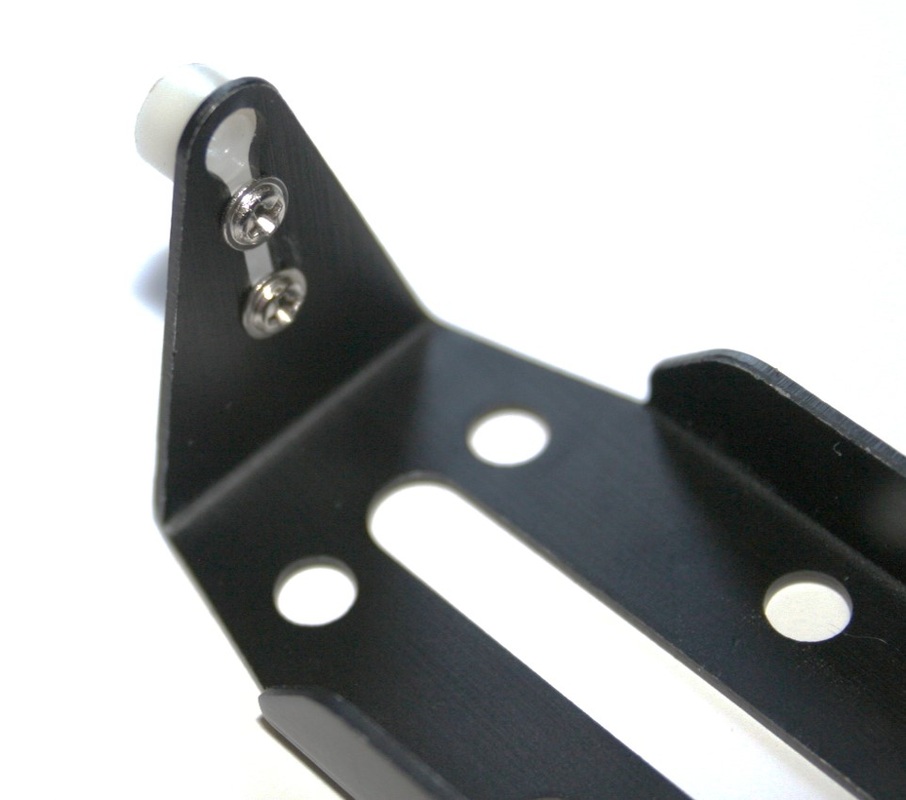
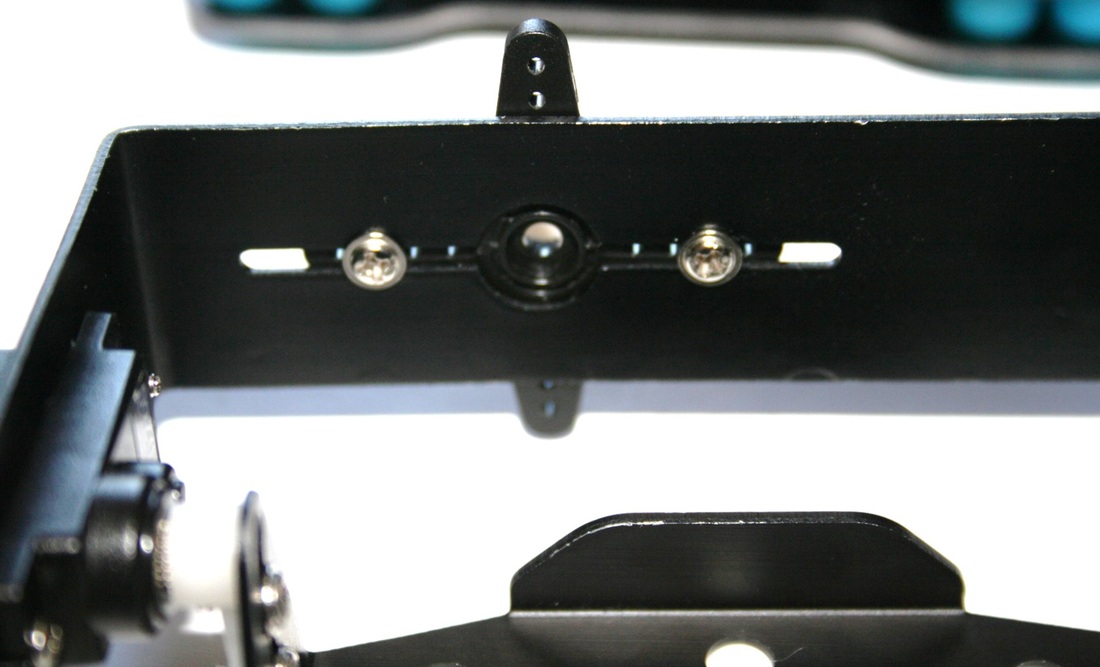
  • Take the larger U shape aluminum piece and you will need to mount the bearing connector as shown.
  • You will use the two small bolts and nuts to do this.
  • Also take care to mount it so that it points into the correct direction (with the shaft connector pointing inwards).

Attaching the Pitch Axis

Picture
  • Now you need to mount your pitch axis servo.
  • Depending on the size of the servo you are using, you might need to use a metal file to get it to fit properly.
Picture
Picture
Its a good idea to drill the holes first to avoid cracking your servo arm with the screws.
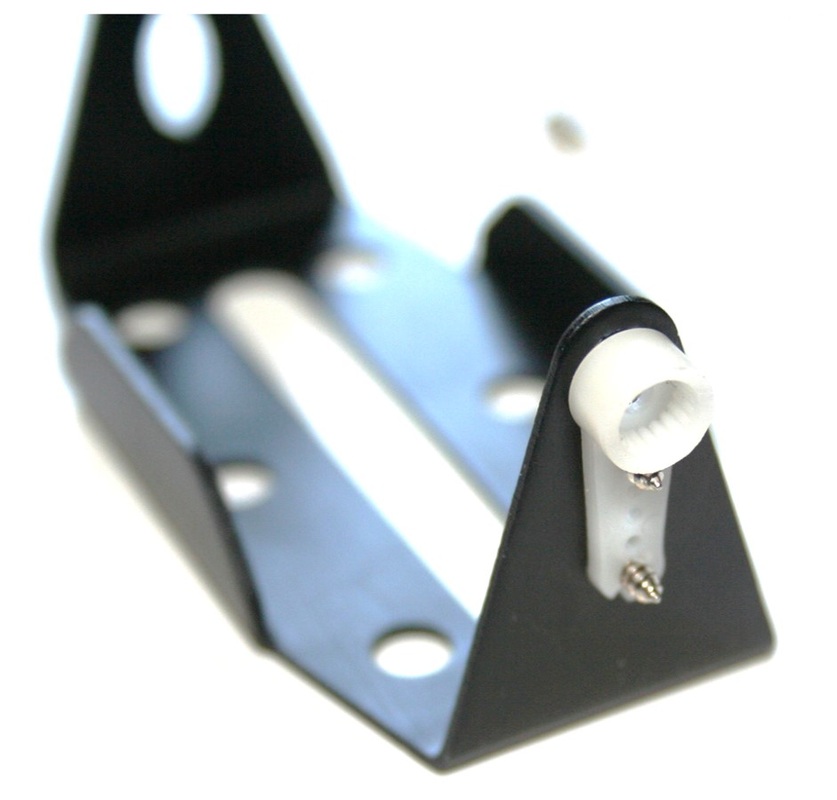
  • Before attaching the Pan axis to the gimbal, you will first need to mount your servo horn onto the side of the pan axis plate as shown.
  • This is dont using the small self tapping screws.
  • It is a good idea to drill the holes into the servo arm to avoid cracking the plastic
  • Make sure that the rotation centre of the arm fits exactly with the pitch axis.

INCREASING the size of the servo mounting hole

Picture
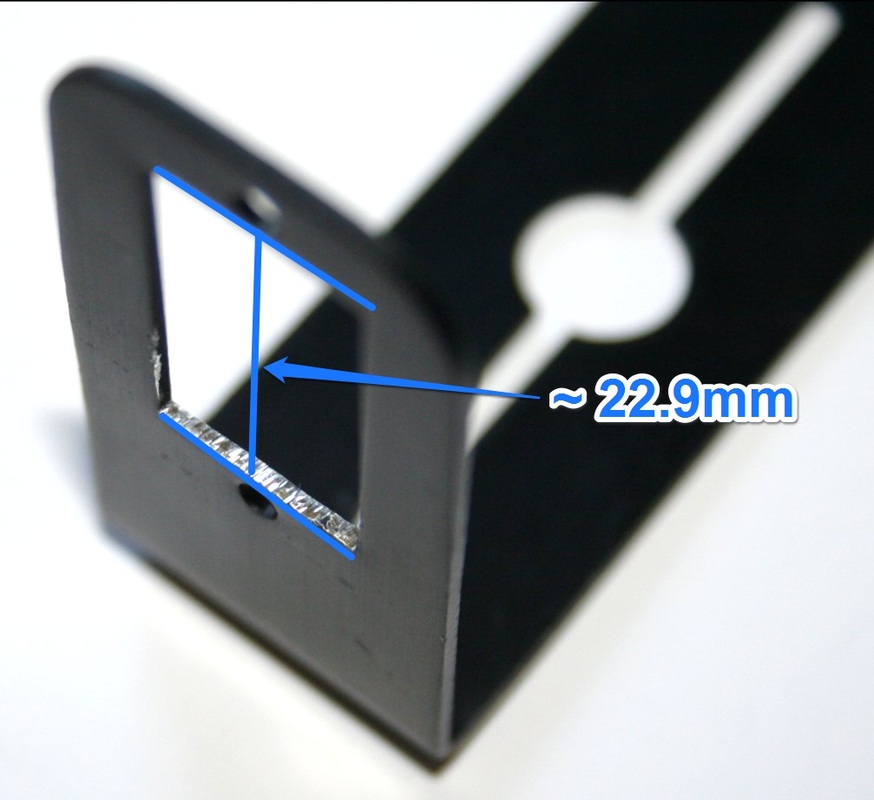
  • Depending on the size of the servo you are using you will need to file the sides of the servo mounting hole with a metal file.
  • The default size of the pitch axis servo mounting hole is about 22.9mm so will not fit any of the emax ES08 servos, unless you file the sides.

Mounting the Pitch Servo

Picture
Use your judgement to decide the best way to mount the servo, once the pitch axis is attached, it must not be too lose, see the next steps .
Picture
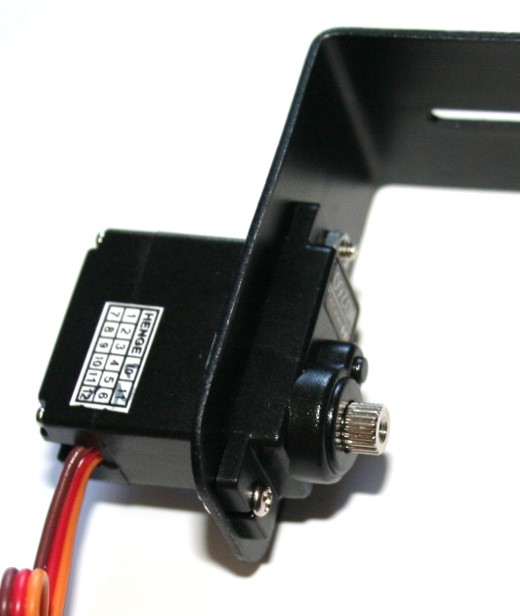
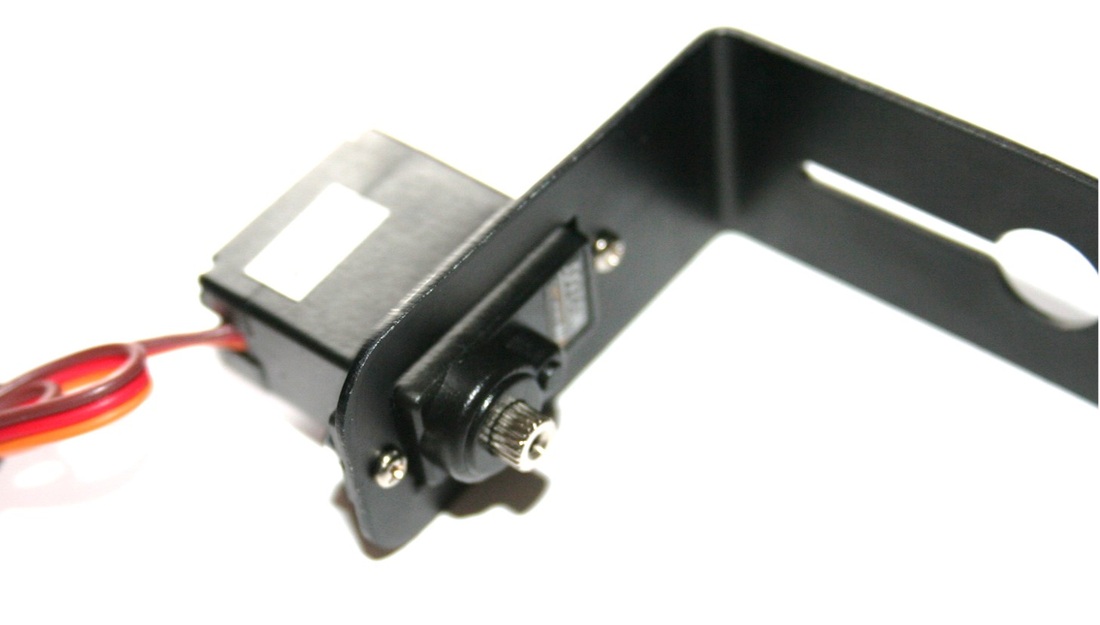
If your servo upper part is quite tall, you should mount it from the outside
  • Depending on the height of your servo you can mount it in one of two methods as shown in the images
  • Make sure that the gear is aligned to be closest to the outer edge of the plate as shown.
  • Its a good idea before securing this all together to connect your servo to set its neutral position.

Attaching the Pitch Axis

Picture
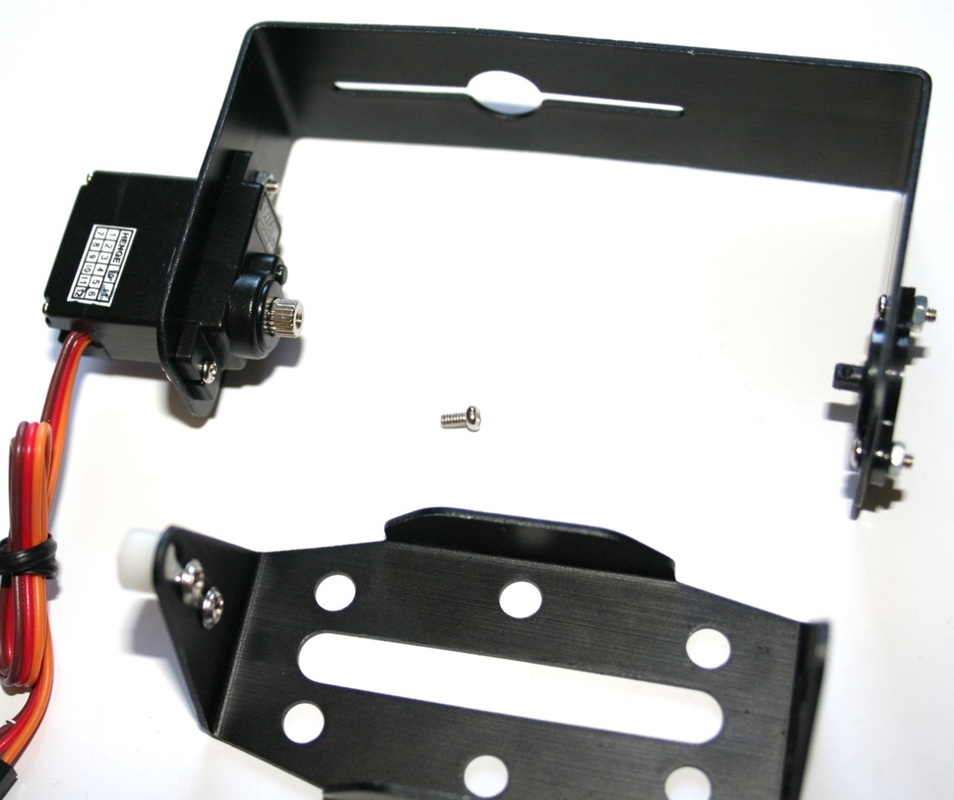
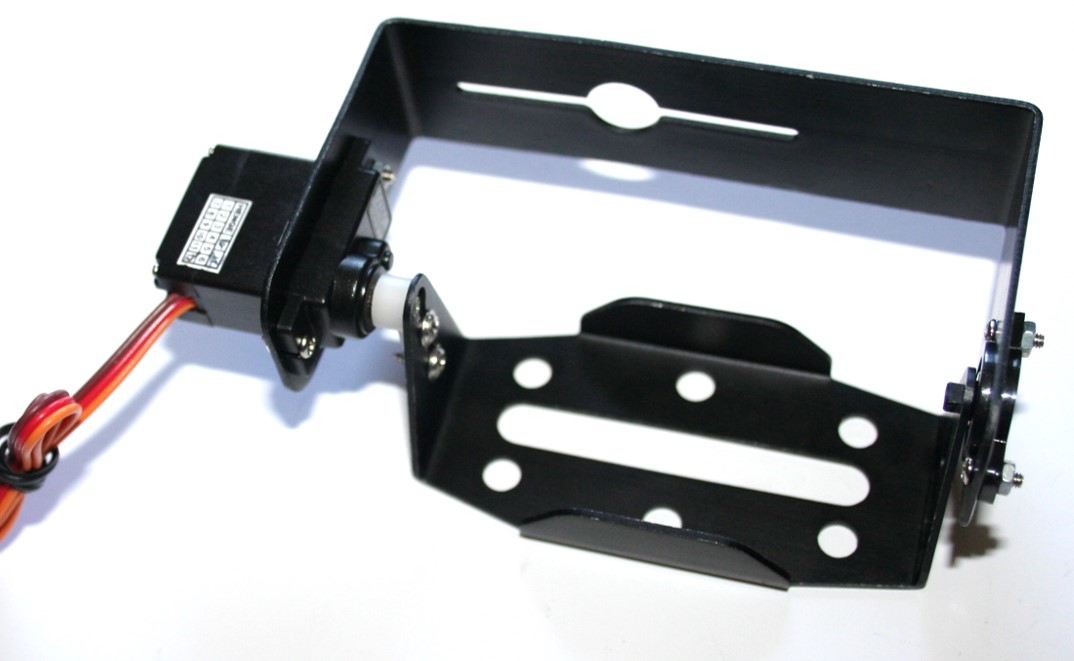
  • To attach the pitch axis, you simply need to connect the one end to the shaft, and connect the servo arm to your servo
  • You will need to secure the arm in place using the screw that was included with your servo.
Picture
  • As mentioned in before, depending on what servo you are using, in order to get the best fit, you can mount the servo on the inner part of the plate, or the outer side of the servo mounting plate.

Building the mounting plate

Picture
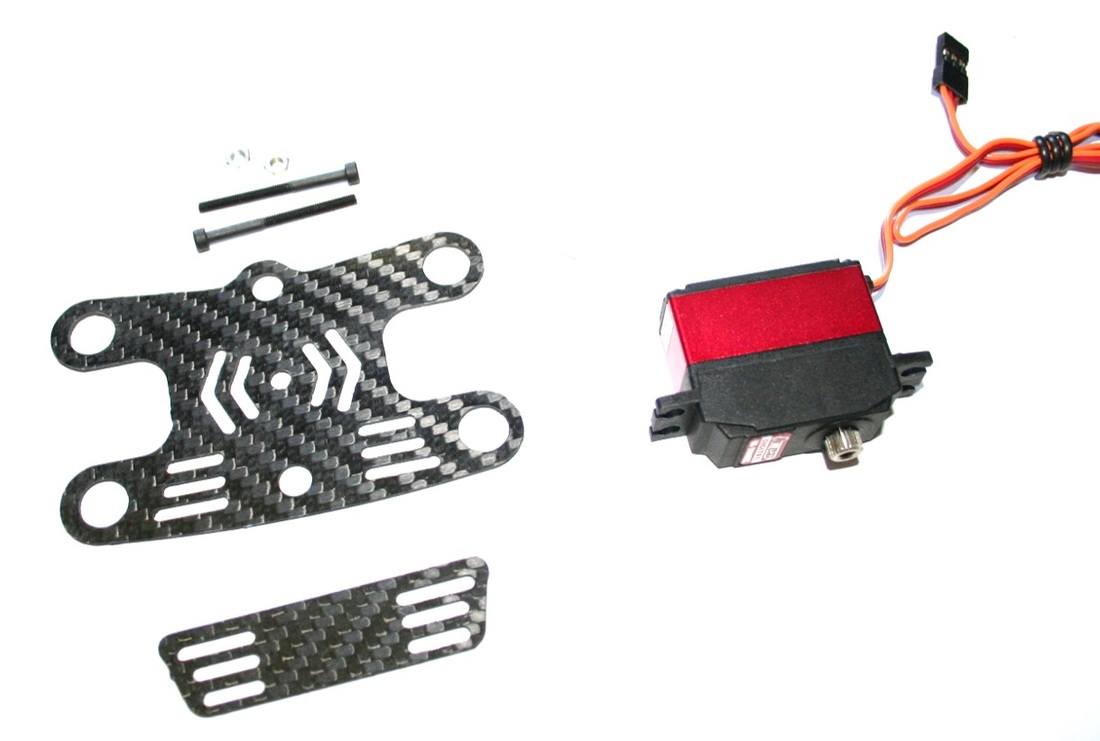
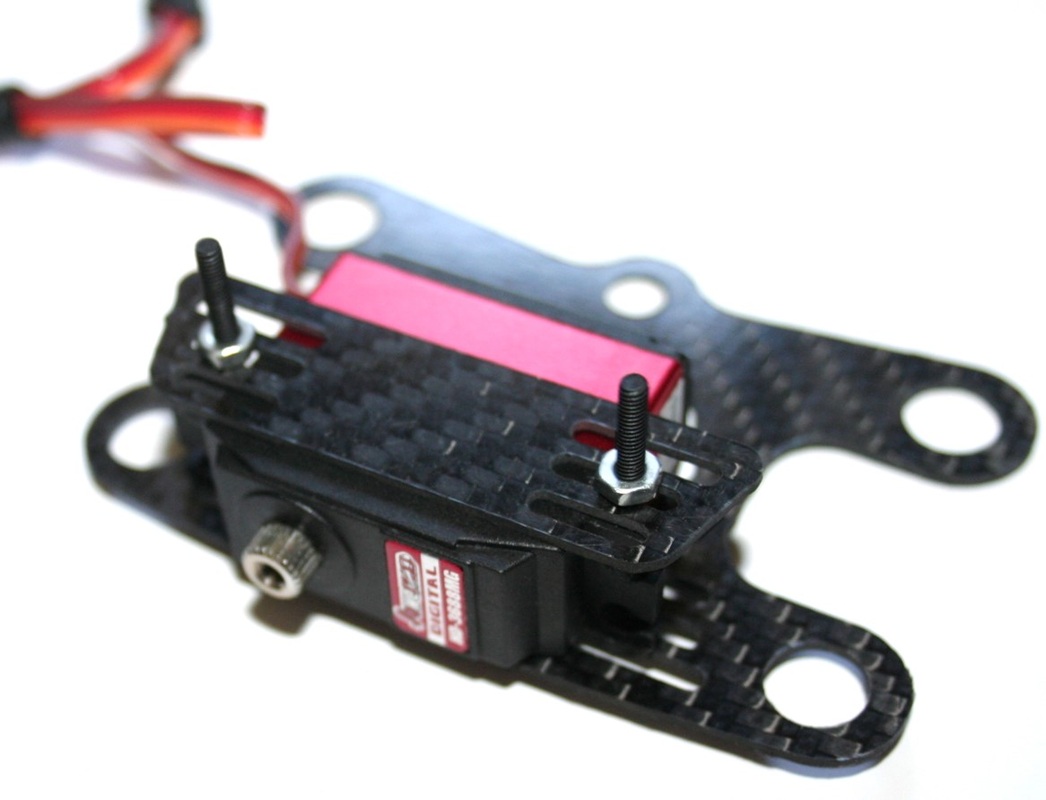
  • You will now need to mount the roll axis servo (a regular size servo) onto the mounting plate.
Picture
  • Depending on the servo you are mounting, there are 3 distance sections to choose from.
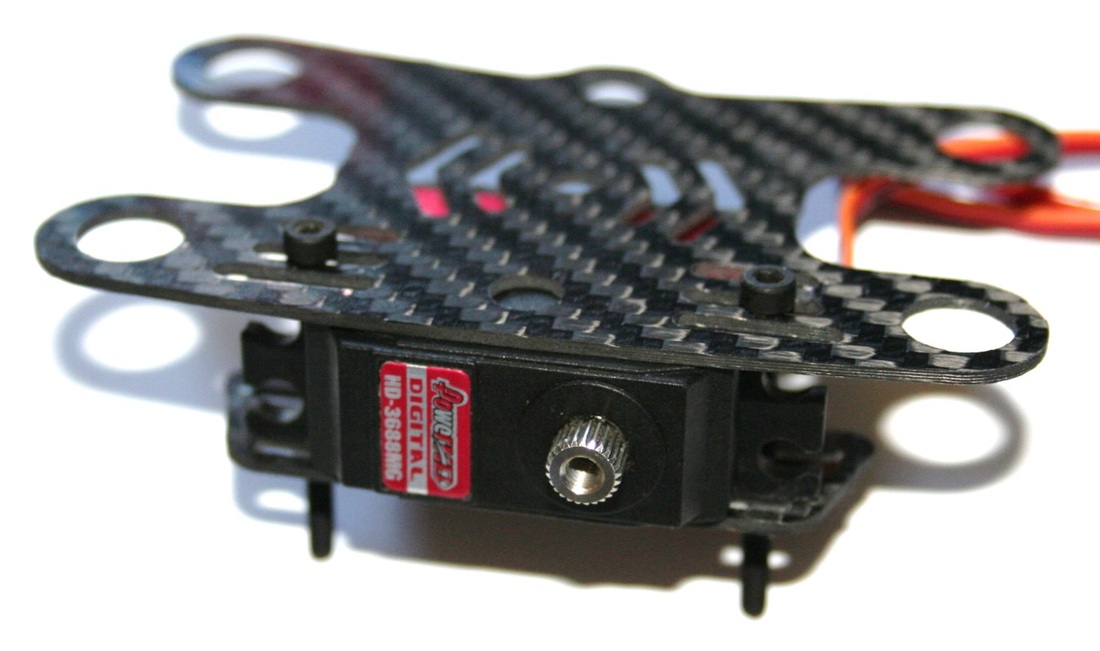
  • It is important to make sure there is enough clearance between the plate and the servo gear so that you can mount the roll axis plate in a later step.
  • You also need to ensure that the servo is mounted in the middle of plate, but it can be adjusted later if required.
Picture
Picture
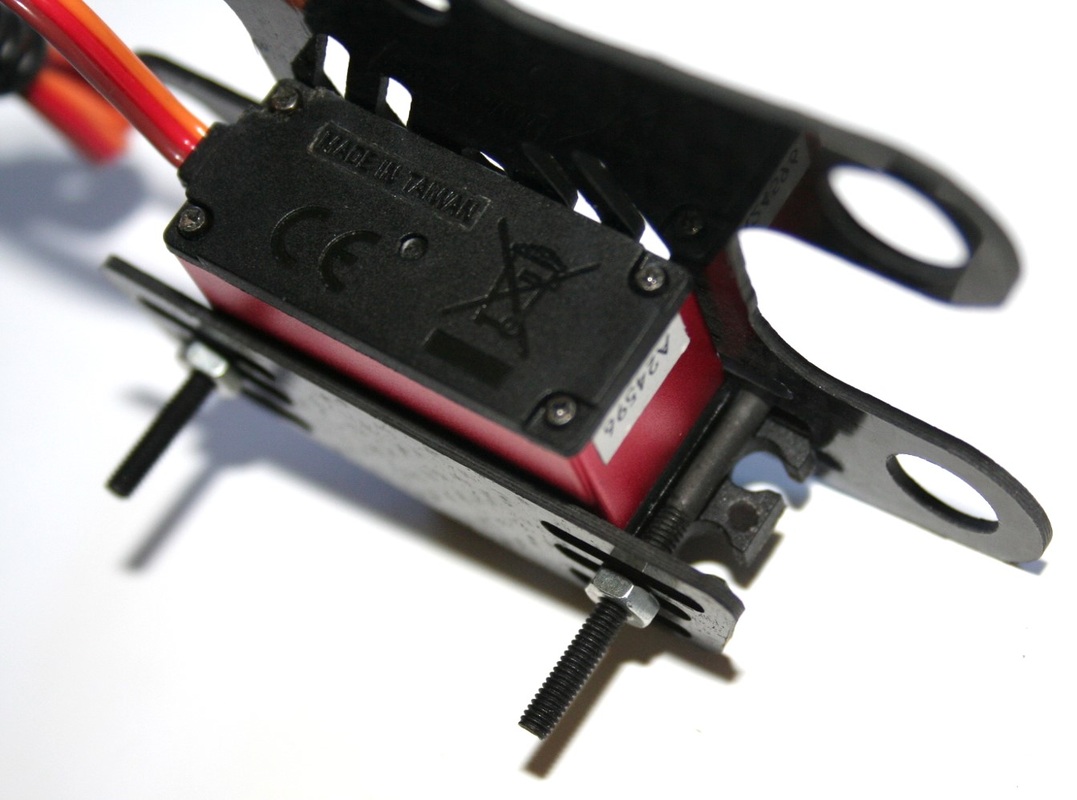
  • Using the two long screws, you need to make sure they are close to the servo as shown.
  • Also take note of the direction of the bolts that they point downwards.
  • You need to make sure that the bolts/nuts are tightened enough so ensure the servo will not move.slip, but be careful not to overtighten it and break one of the plates.

Picture
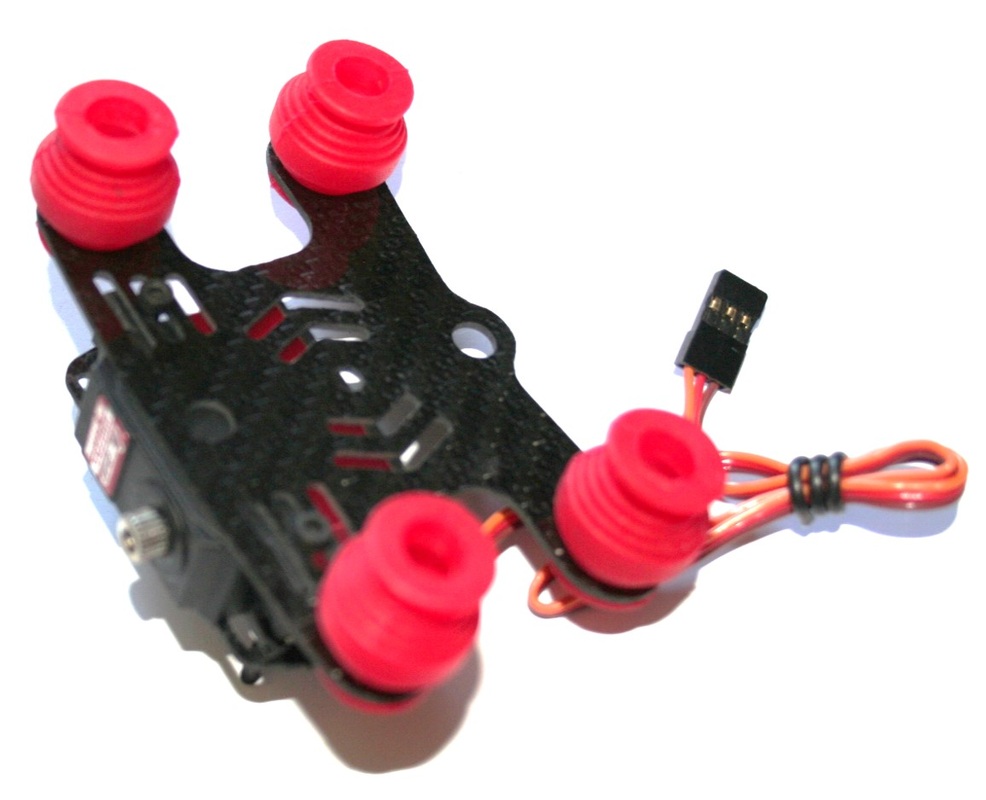
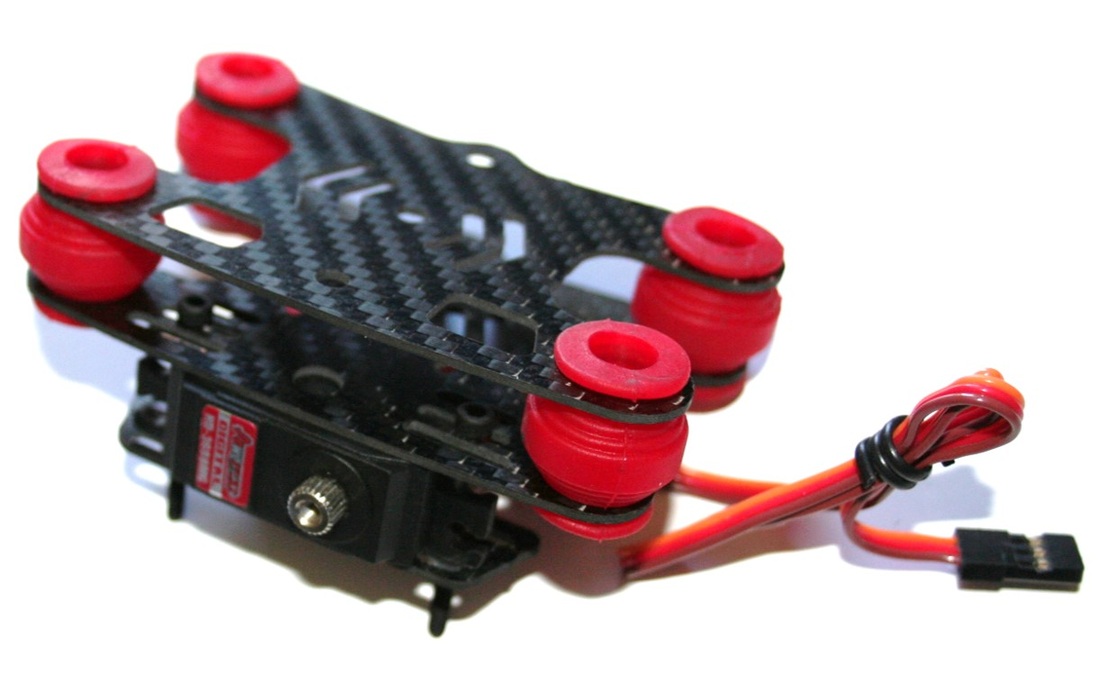
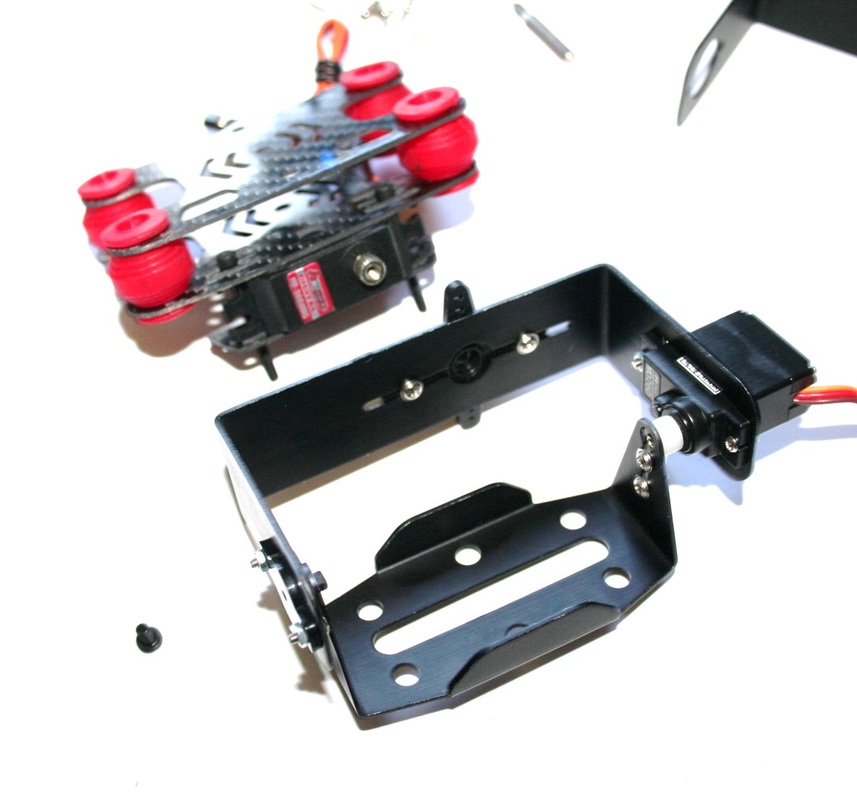
  • The next step is to attach the 4 vibration damper balls to the plate.
  • If you find it difficult use a relatively blunt object to push it through, but be careful not to damage the rubber
Picture
  • Now you can do the same for the upper plate.

Attaching the Roll Axis servo Arm

Picture
  • As before, you now need to mount the servo arm onto the roll axis plate using the self tapping screws.
Picture
  • Make sure that you align the servo arm correctly so that it is in the middle as shown.

BRINGING it all together

Picture
Picture
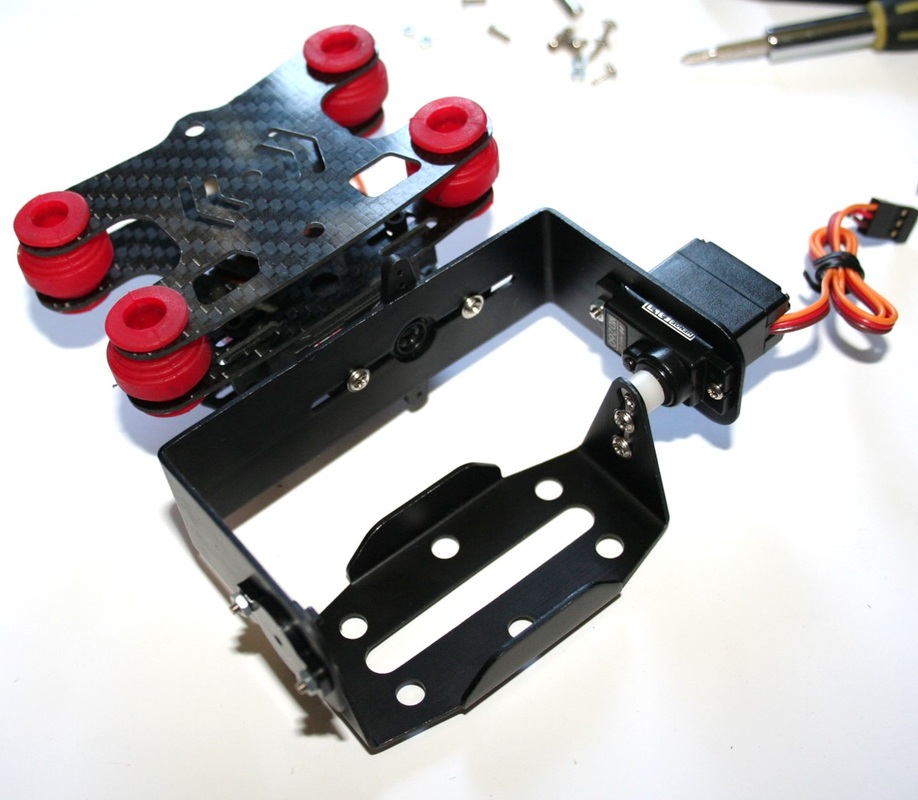
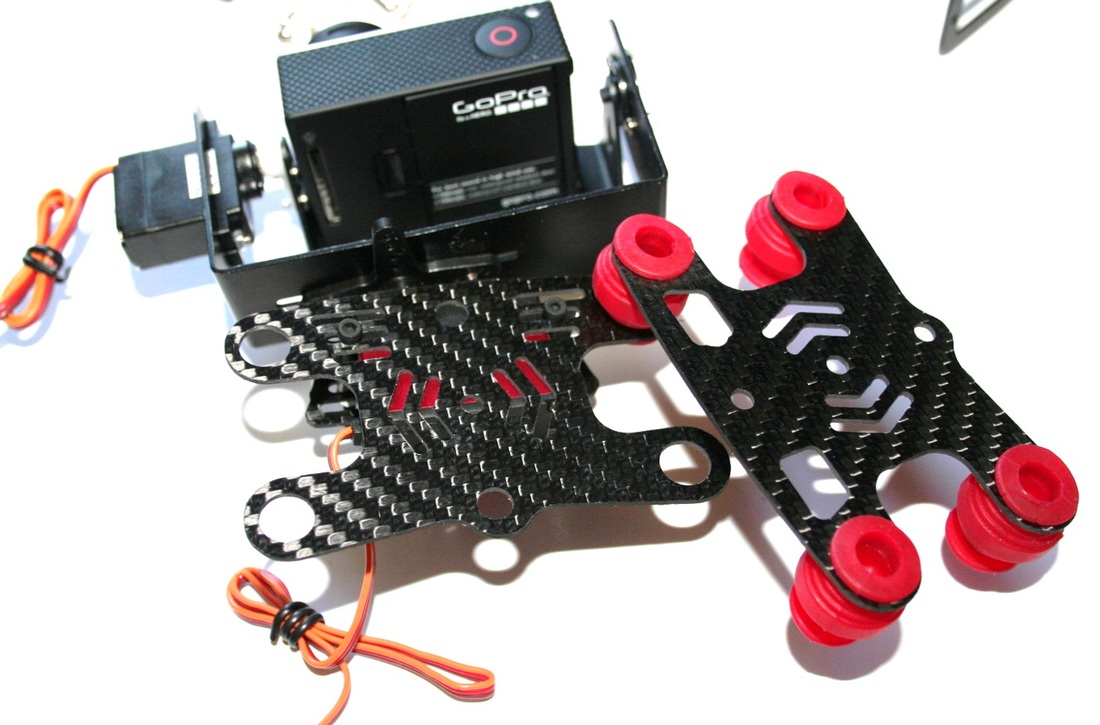
  • The last step is to combine the two sub-assemblies together.
  • This is done by attaching the roll axis to teh roll axis servo using the servo arm screw that came with your servo.
  • Its a good idea before securing this all together to connect your servo to set its neutral position.

Mounting the gimbal to the phantom Quadcopter Frame

Picture
DJI Phantom GoPro Gimbal
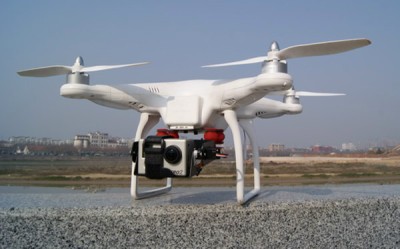
  • In order to mount the gimbal to the frame you might need to remove the top plate as shown to tighten the screws.
  • This frame will be mounted onto the bottom of the frame where the original gopro mount would go.
  • You will also need to open up the phantom and connect the two servos to the NAza flight controller inside.
  • You will also need to configure the gimbal in the software, refer to the flight controller documentation on how to do this.
Comments
comments powered by Disqus

    Categories

    All
    Camera
    ESC
    Flight Controller
    Fpv Gear
    Gimbals
    Gluonpilot
    Multirotor
    Radio Control
    Telemetry

    RSS Feed

    Forums
    Buy Stuff
    Knowledge Base
Picture
Visit our Community Forums if you have any questions
  • Home
  • Shop
  • Students/Researchers
  • About
  • Contact
  • Manuals
  • Regulations
  • Multicopter Safety Notes
  • Blog