UNMANNED TECH
  • Home
  • Shop
  • Students/Researchers
  • About

S702 Heavy Lift Gimbal Assembly Guide

21/4/2013

Comments

 
Picture
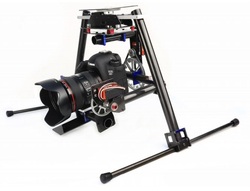
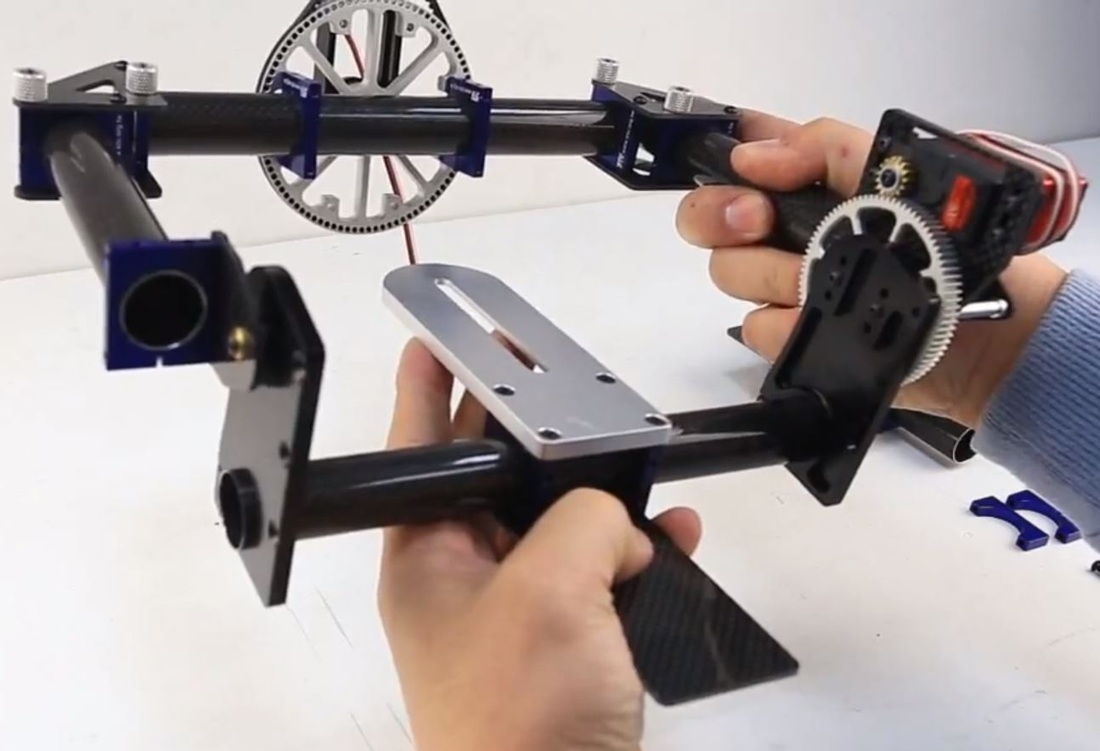
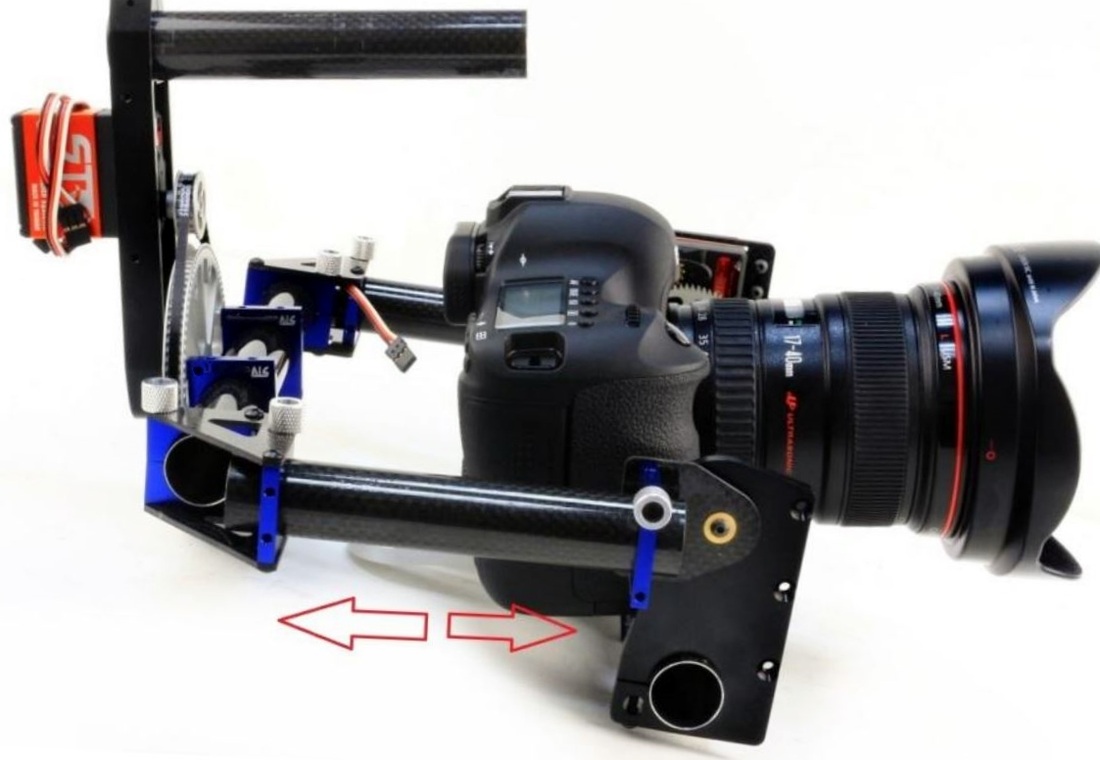
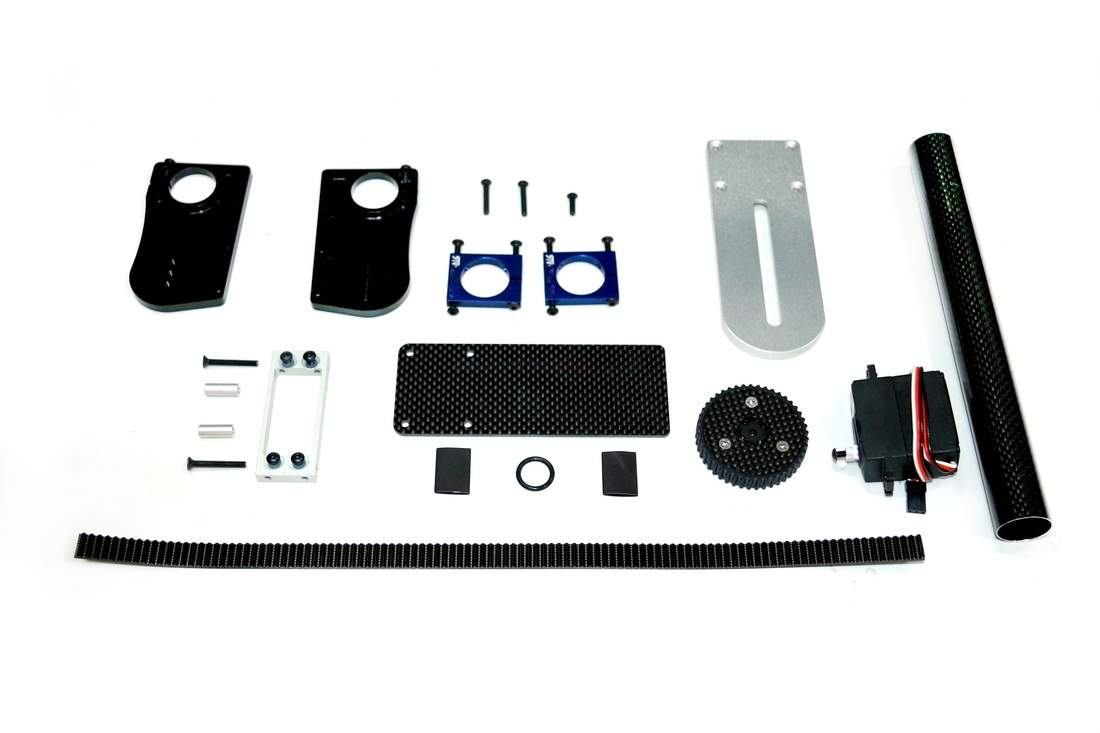
The S702 Heavy Lift gimbal is a 2 or 3 axis gimbal designed to carry a SLR size camera.  Making this an ideal choice if you want to use your multicopter for professional videos/photographs.  Although this gimbal ships 90% assembled, this guide will show you how to finish the assembly.

Buy Heavy Lift SLR Gimbal

2 Axis Gimbal Assembly

Picture
  • As shown, the gimbal arrives mostly assembled so there are only a few steps required to build it.
Picture
  • The first thing you need to do is lift up the roll axis. 
  • You will also need to adjust the camera mounting plate and make sure it is in the center.
Picture
Picture
  • The next step is to attach the mounting plate onto the camera mount as shown.
Picture
Picture
  • Now you will need to mount the top mounting plate. 
  • Make sure to use the boom mounts that are the joined type as shown.
  • To attach each of them you will use 1 long screw and a short screw.
  • The Long screw goes on the side with the split in the boom mount as shown.
  • Don't overtighten the longer screws as you still need to slide the carbon fiber boom into it.
Picture
Picture
  • Now you will slide in the short carbon fiber boom that you received onto the bottom boom holders you just attached.
  • Once the boom is in place you will need to tighten the long screws to secure it.
  • Now you need to attach this top mounting plate onto the rest of the gimbal as shown. 
The image shows the optional boom mounts on the top if you are planning to mount the gimbal onto a boom of your multicopter.
  • It is also important that you make sure the plate is mounted parallel to the rest of the gimbal.
  • Now you just need to attach the gimbal to your frame, and set it up with your flight controller.
  • If you also want to add the pan axis and landing gear read on on how to assemble that.

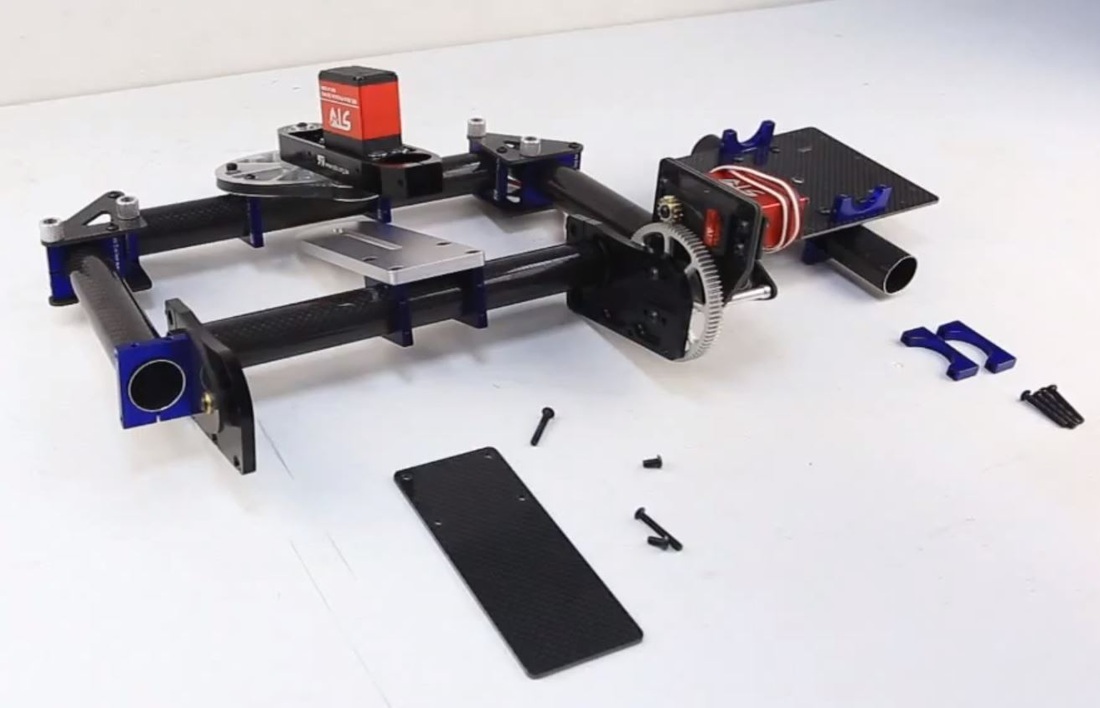
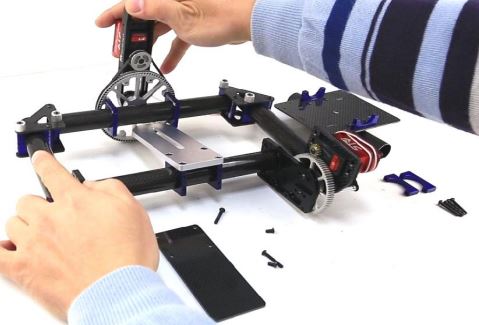
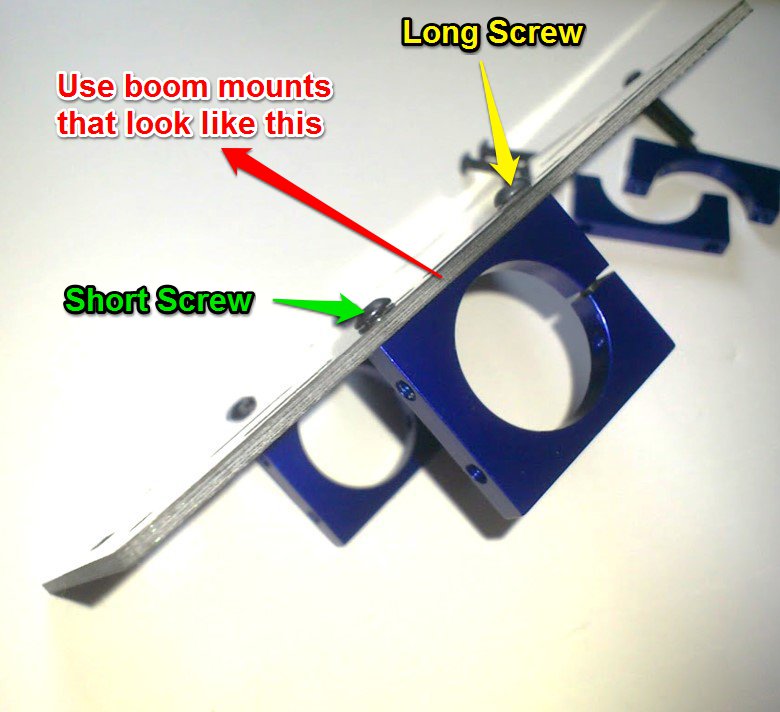
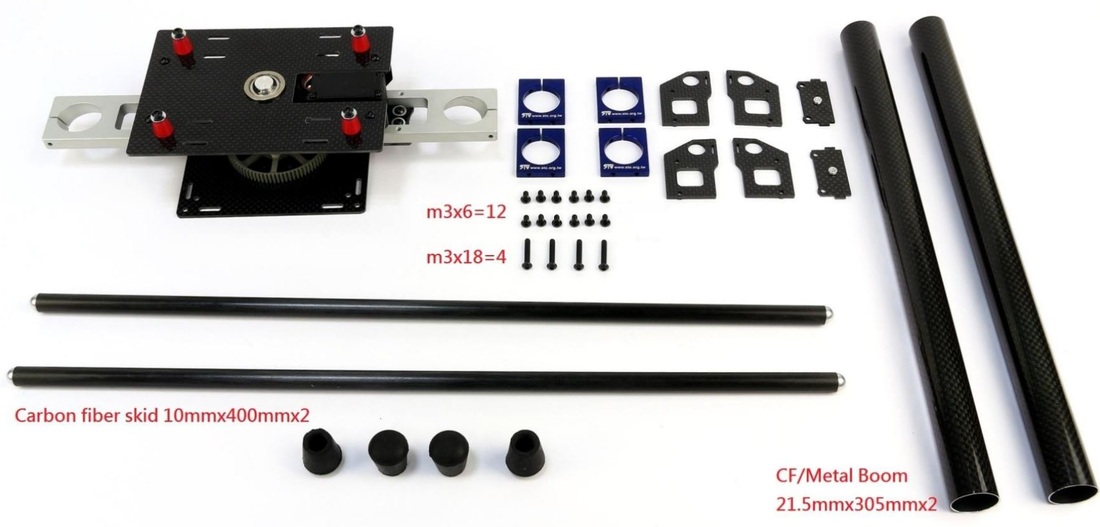
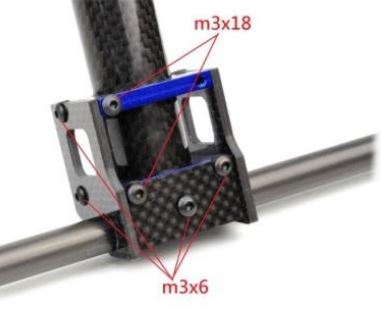
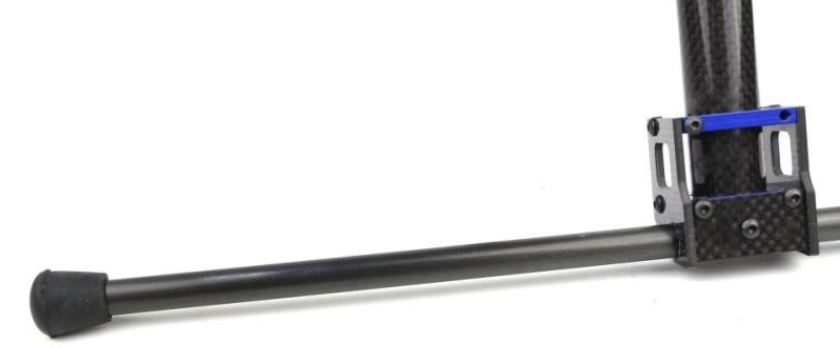
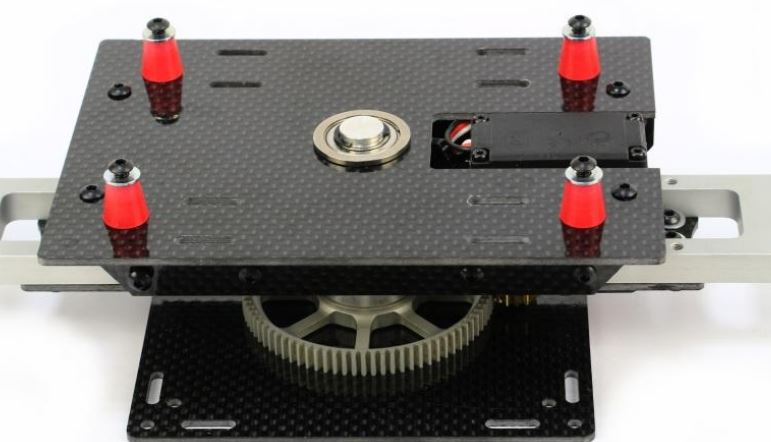
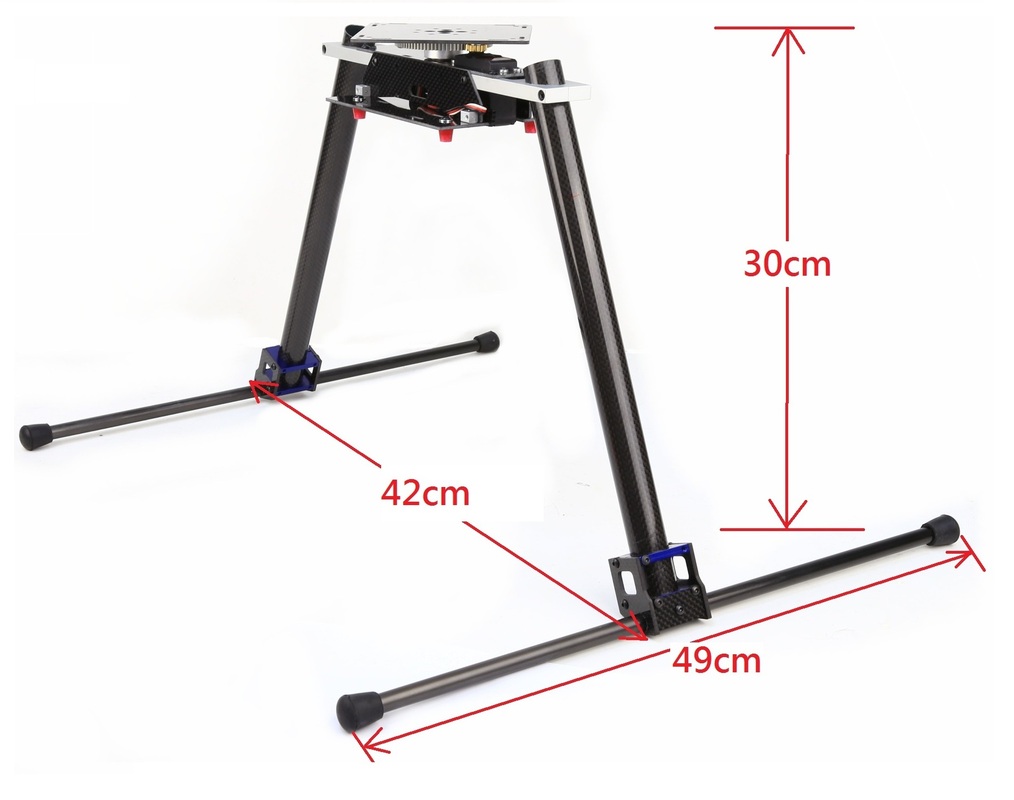
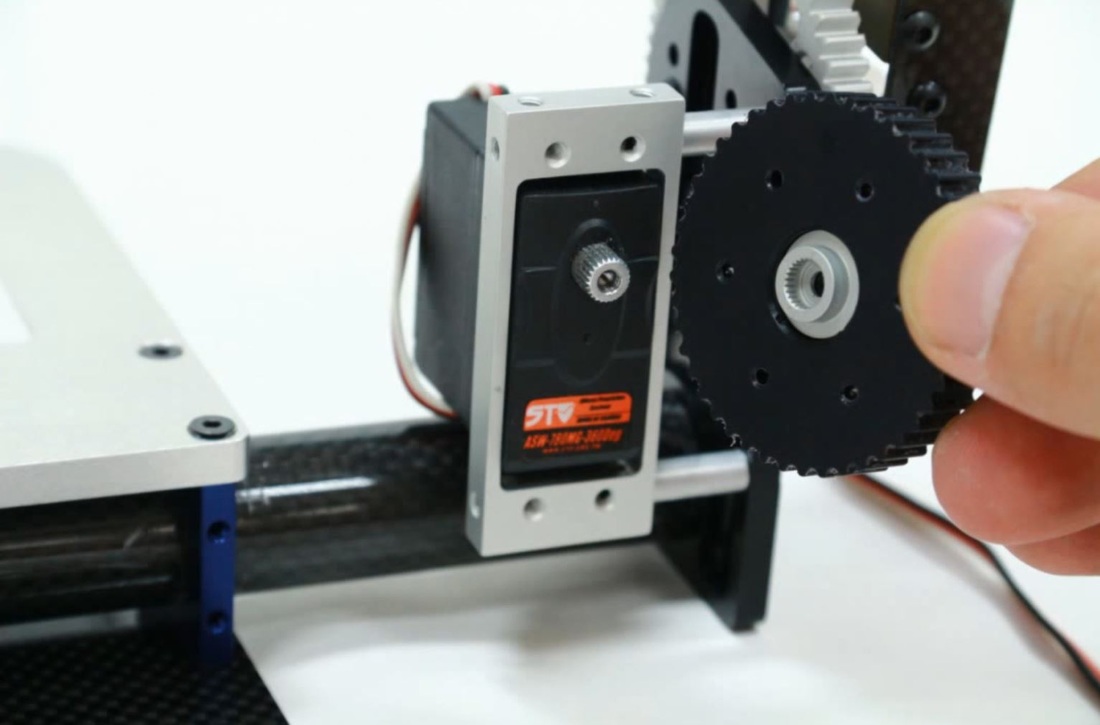
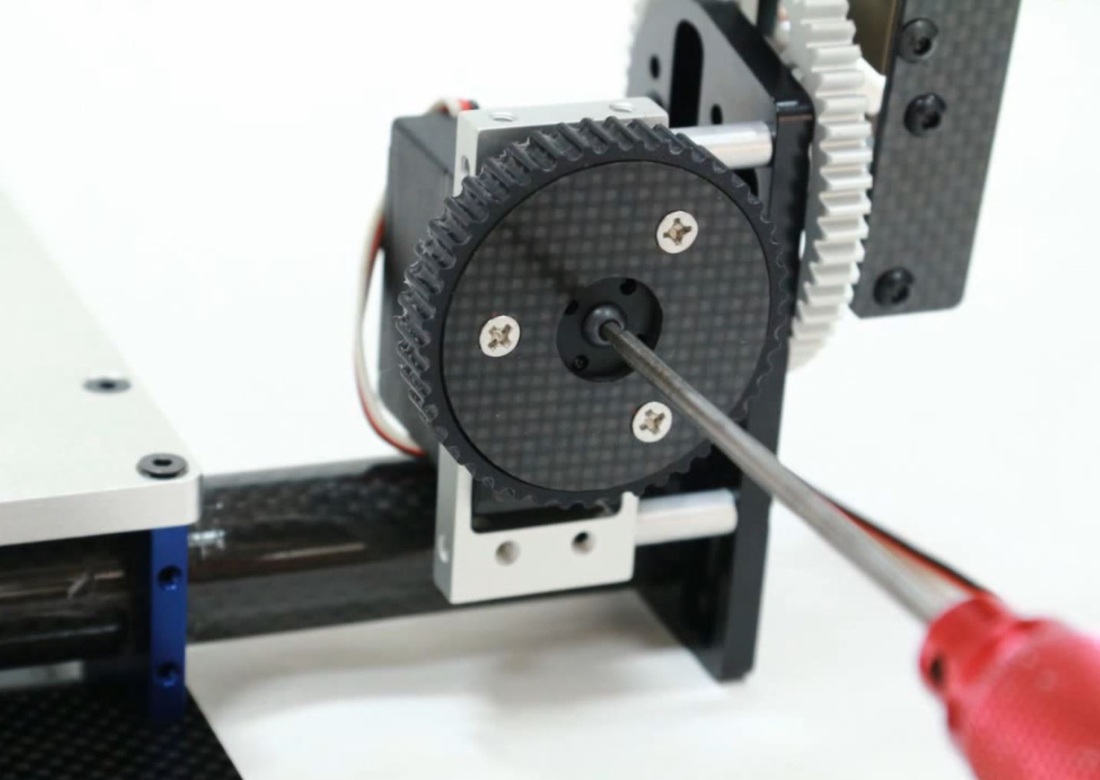
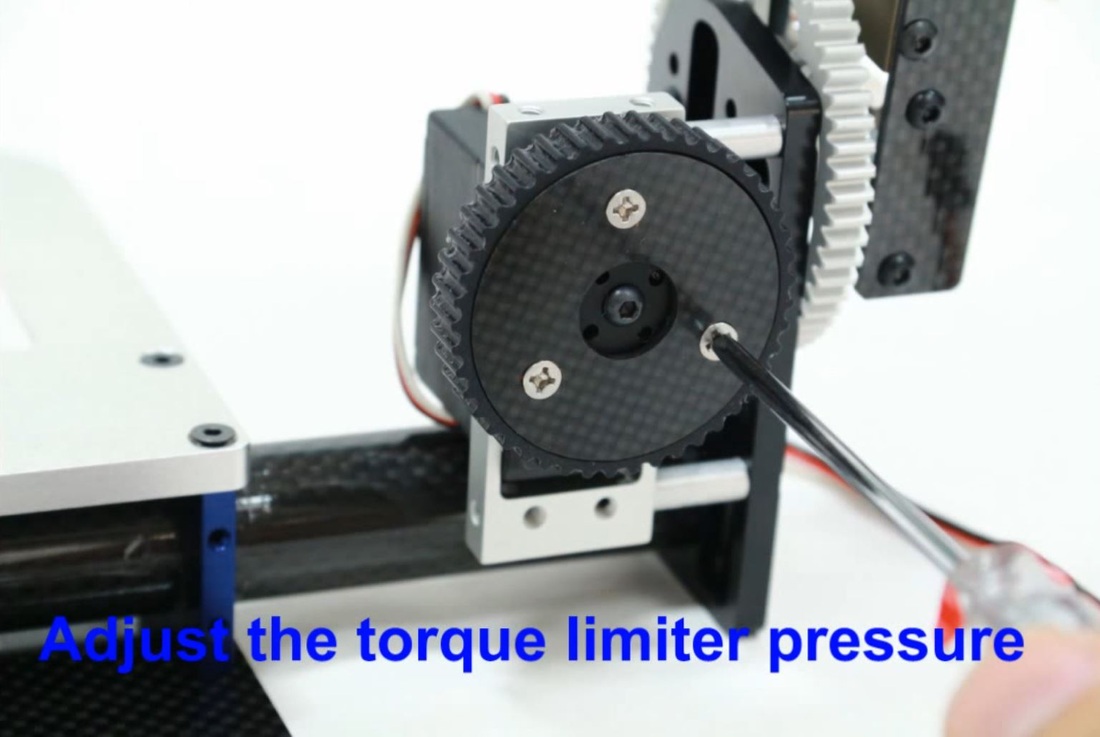
Assembling the Pan Axis and Landing Gear

Picture
  • The parts for the landing gear/ pan axis come 90% assembled as shown
Picture
Picture
  • The first thing to do is to attach the landing legs, to do this you need to build the leg holders.
  • You need to use the boom holders along with the carbon fiber plates and build it as shown..
  • You then attach the smaller tubes (horizontal lending legs) to the holder and attach the rubber ends to the bottom of the landing legs.
  • Repeat this for the other side.
Picture
  • Attach the long vertical landing legs to the aluminium holder as shown.
  • Secure them in place by tightening the screw.
  • Make sure that both legs are the same height so that your gimbal will be level,
Picture
  • You now need to attach the rubber vibration dampers to the bottom of the pan assembly as shown.
Picture
  • You landing legs should now look like that.
  • The next step it to attach the SLR gimbal to this.

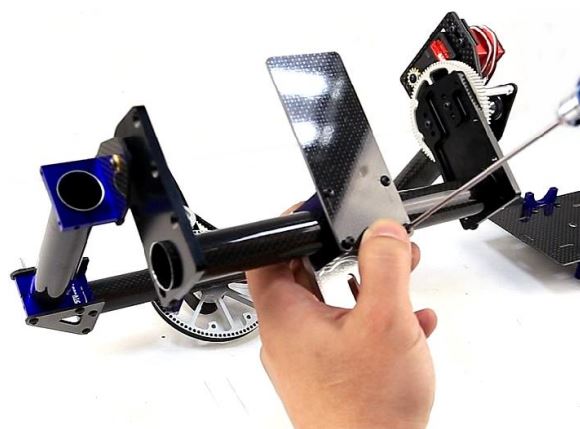
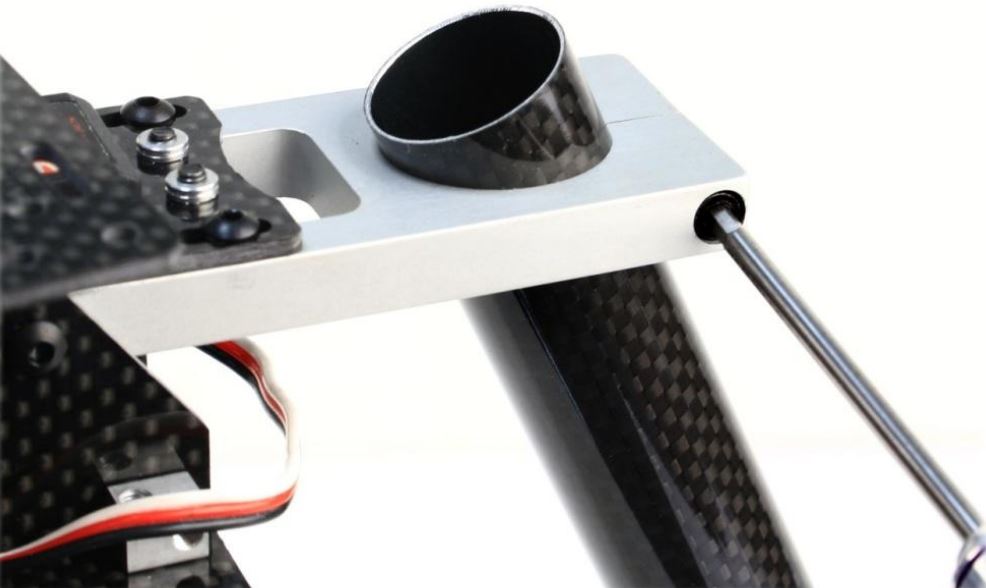
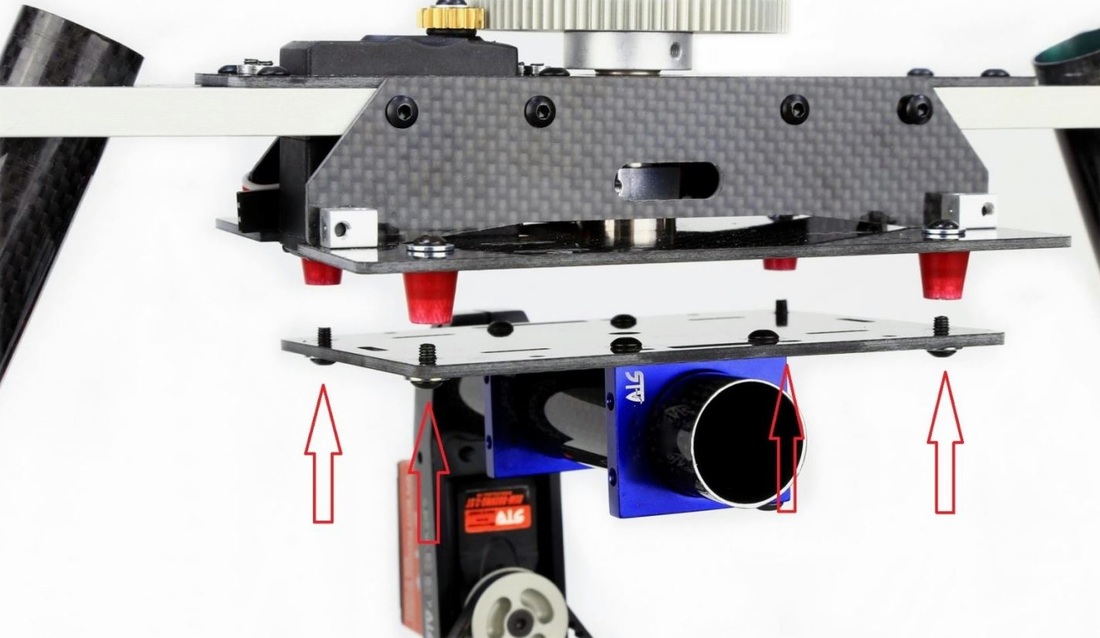
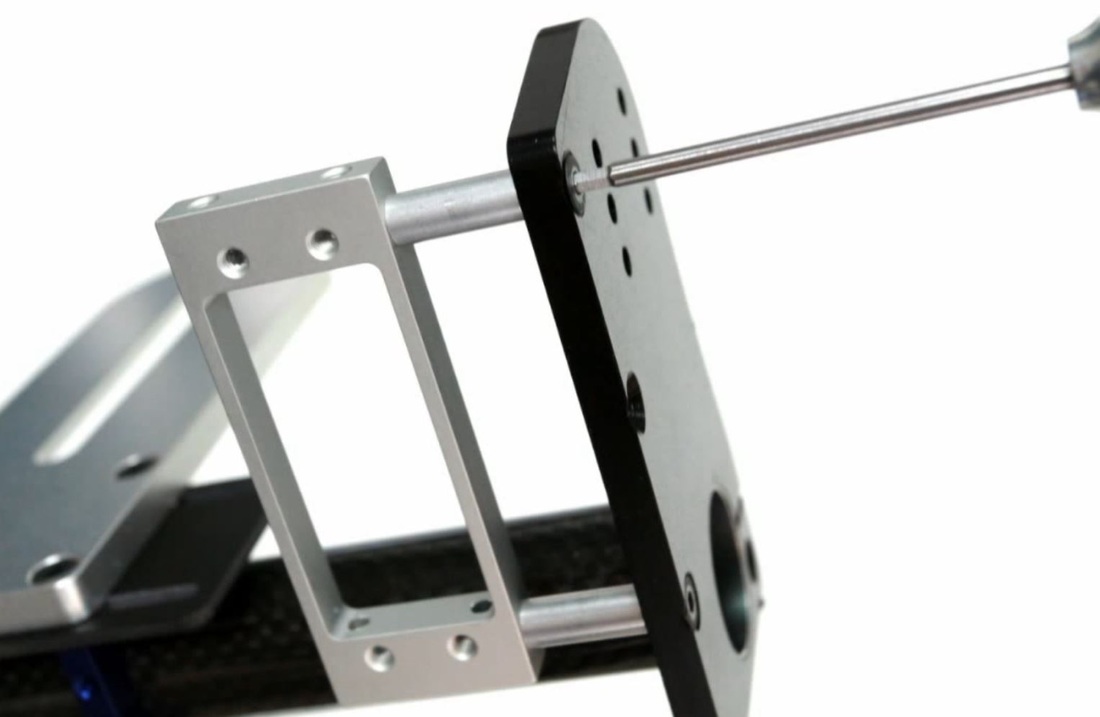
Mounting the Gimbal to the Pan aXis landing legs

Picture
  • To mount the gimbal onto the landing legs is a very simple process.  
  • All you need to do is attach the mounting plate to the landing gear with 4 screws as shown.

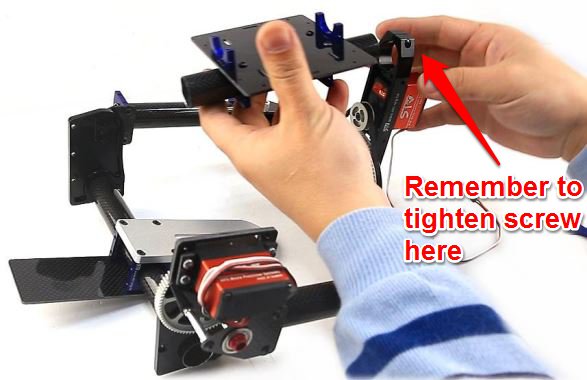
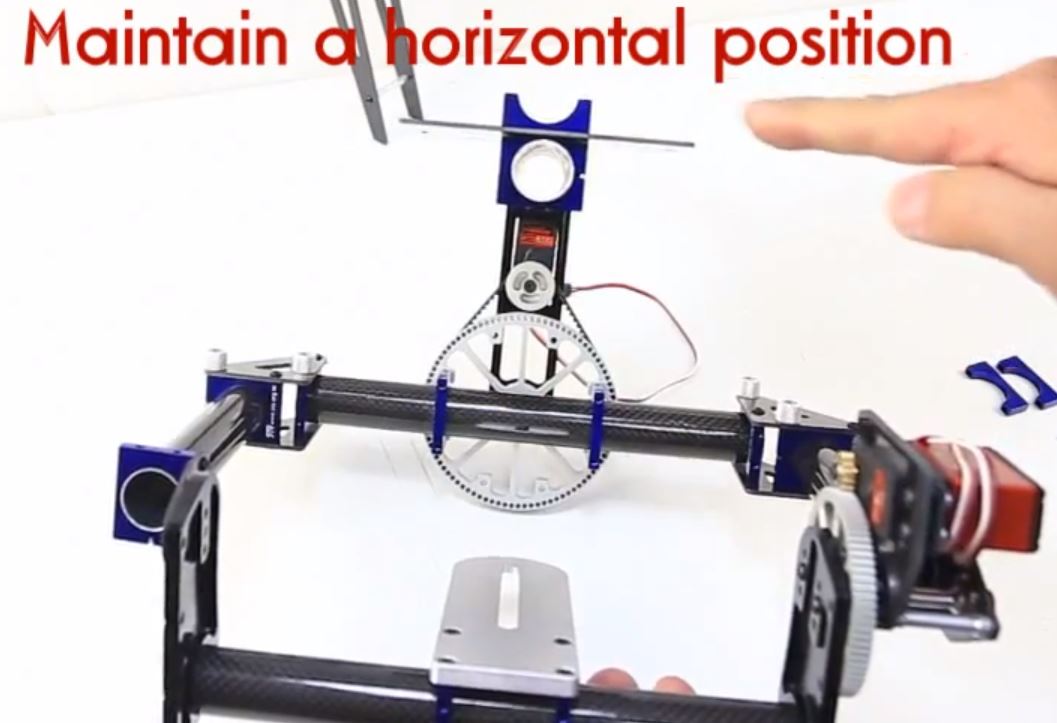
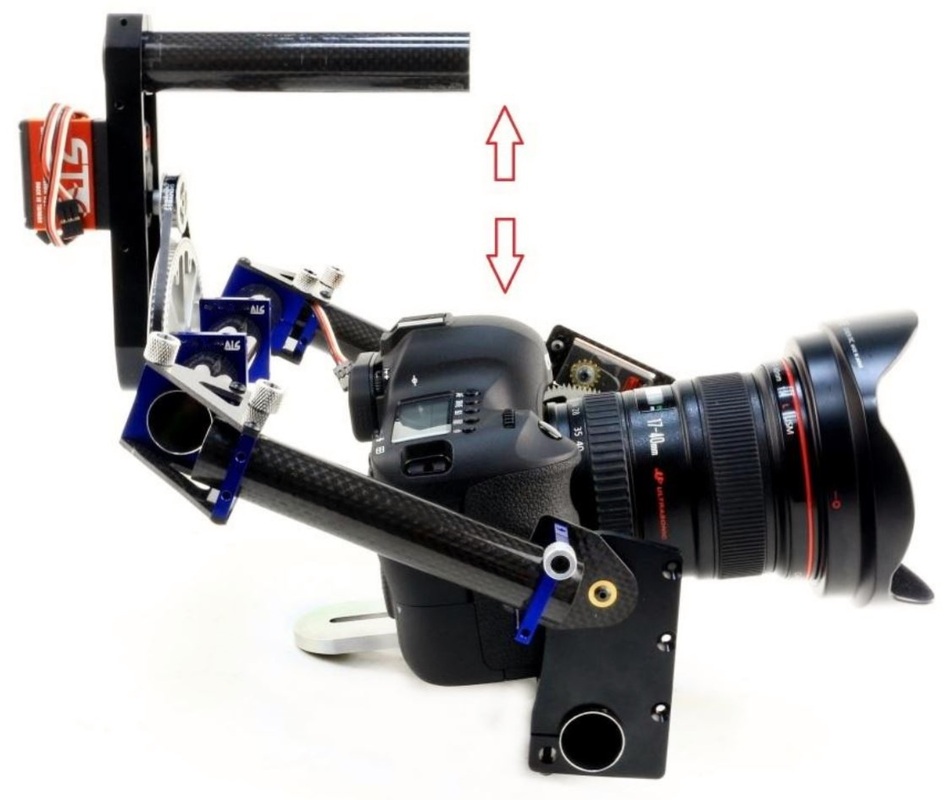
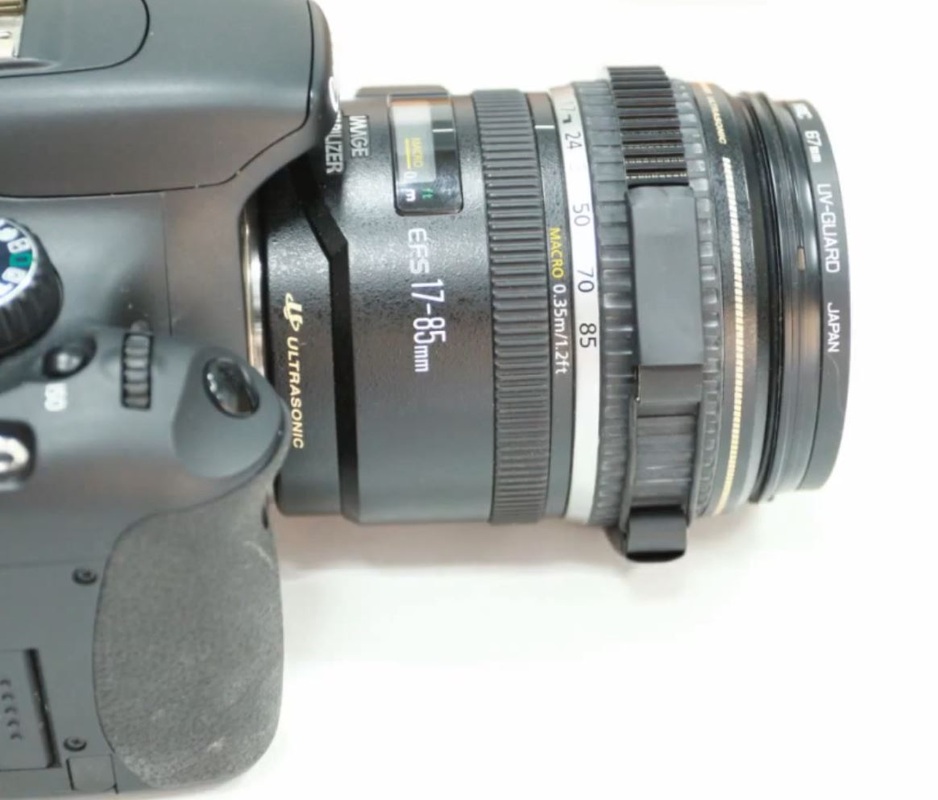
Adjusting the Gimbal to fit your camera

Picture
  • You can adjust the height of the gimbal by tilting the roll axis as shown.
Picture
  • You can adjust the horizontal distance of the gimbal as shown to ensure your camera will fit, or to help with balance.

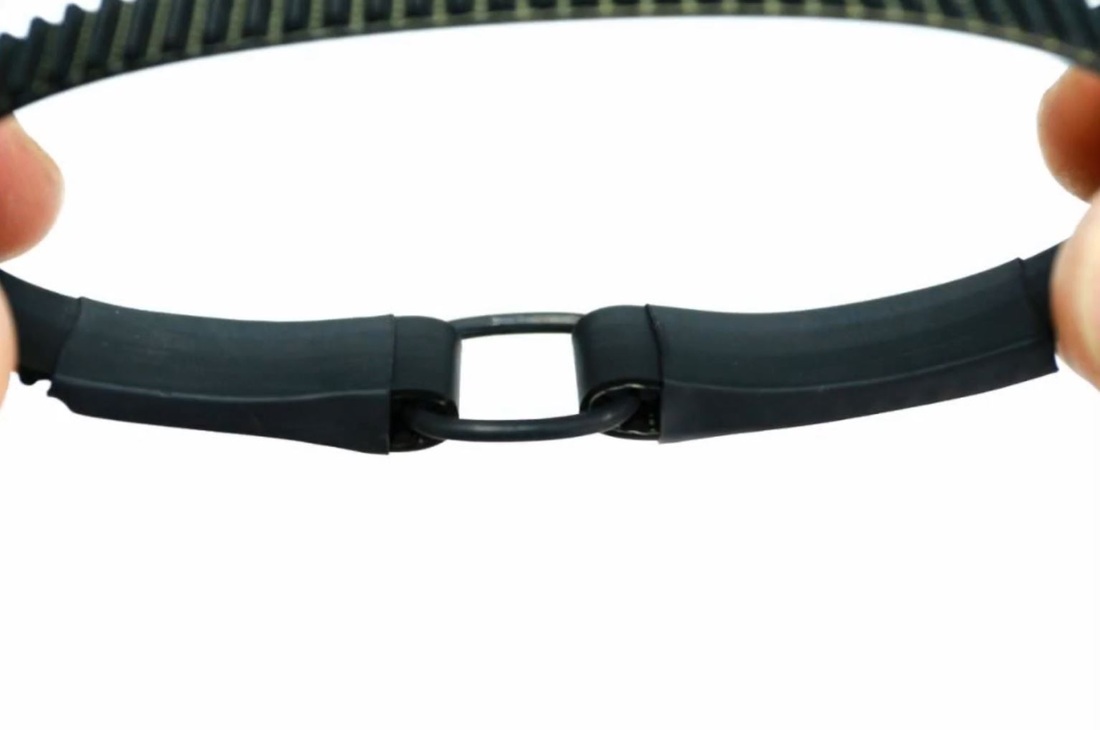
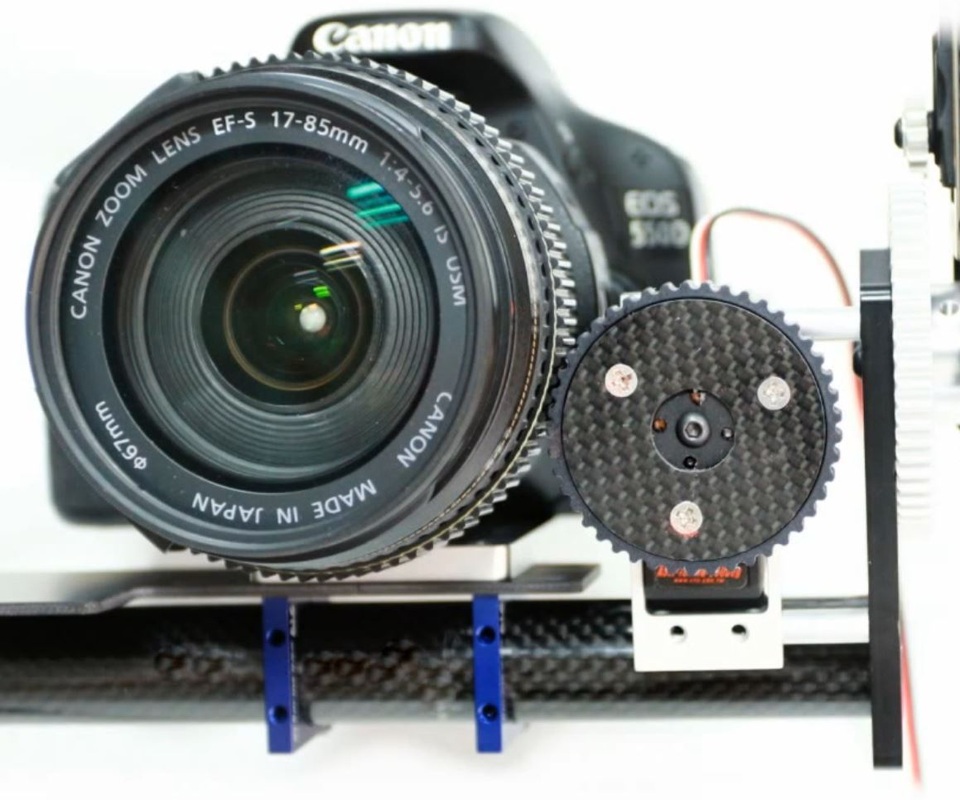
Attaching the Zoom/Focus Controller

Picture
  • The Zoom controller allows you control your cameras zoom while in flight.
  • This kit includes an extra camera mount.
Picture
  • The first thing to do in assembly is to attach the aluminum servo mount as shown.
  • You might need to remove the pitch axis plate to attach this servo mounting plate.
Picture
  • Now you need to mount the servo onto the plate and attach the clutch gear as shown.
Picture
  • Secure the clutch gear in place as shown.
Picture
  • It is important to adjust the tension of the gear so that it will be able to slip easily when the camera zoom lens is at each limit to avoid damaging your camera/lens.
  • You can change the slipping point by loosening/tightening the screws as shown.
  • Its best to loosen it as much as possible and tighten it just enough to move the lens of your camera.
Picture
  • You now need to connect the belt for your camera lens as shown.
  • You will need to adjust the size of the belt so that it fits tightly around your camera lens.
Picture
  • Attach the belt to your camera lens as shown.
  • You can choose to attach it to the focus or zoom adjustment of your lens.
  • Its important to turn off autofocus if you are using this system to control focus to avoid damaging your lens.
Picture
  • You will then need to slid the camera mount so that the gear and the belt on the lens are touching as shown.
We hope you enjoy using your SLR gimbal, but if you have any questions please ask them below!
Comments
comments powered by Disqus

    Categories

    All
    Camera
    ESC
    Flight Controller
    Fpv Gear
    Gimbals
    Gluonpilot
    Multirotor
    Radio Control
    Telemetry

    RSS Feed

    Forums
    Buy Stuff
    Knowledge Base
Picture
Visit our Community Forums if you have any questions
  • Home
  • Shop
  • Students/Researchers
  • About